Projects
Projects are derived from demand management and define which data is created, modified or used in which projects. A project can contain subprojects to organize the project structure. The usages of other elements are defined in the project or subproject.
Add projects
Projects are specified in a project directory in the subpanel of a collection.

A new project is added by clicking the icon "+" (or by selecting "Add Project..." in the menu).
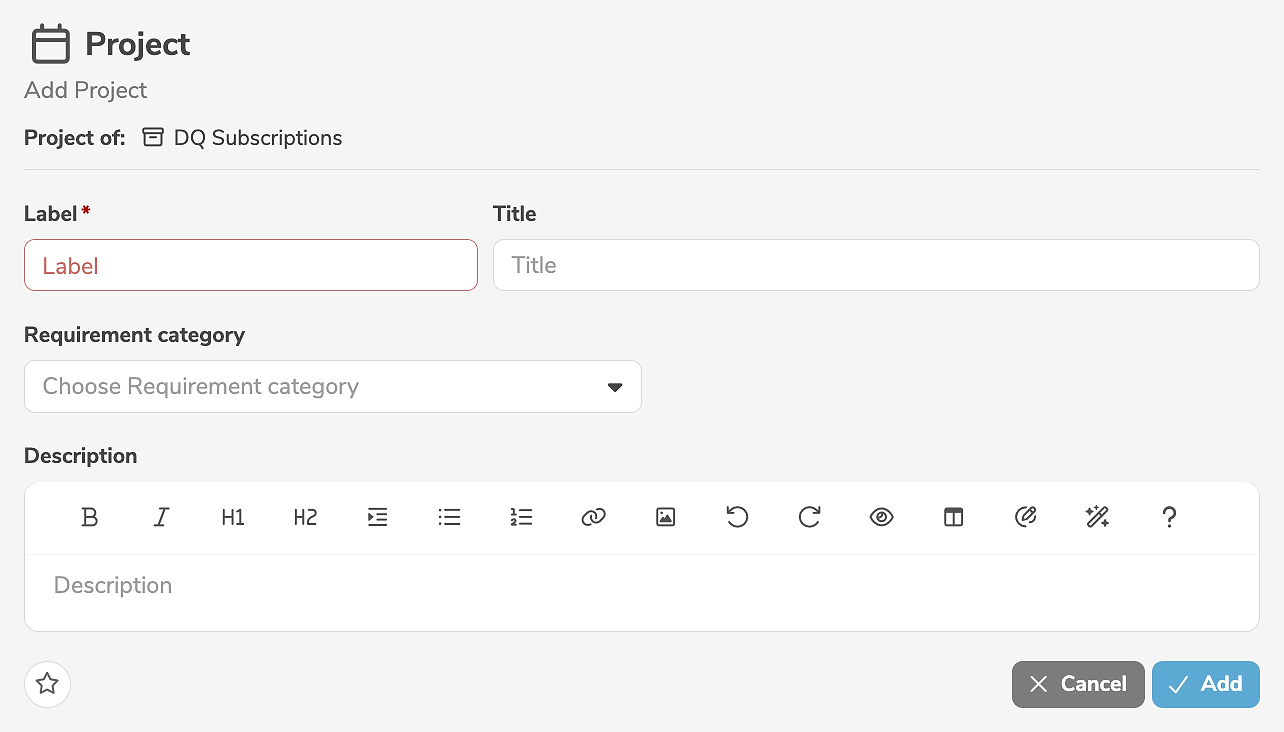
It is mandatory to assign a label to the project. In addition, a title and a description can be specified.
Clicking "Add" creates the project.
Projects can also be created by duplicating other projects.
Edit projects
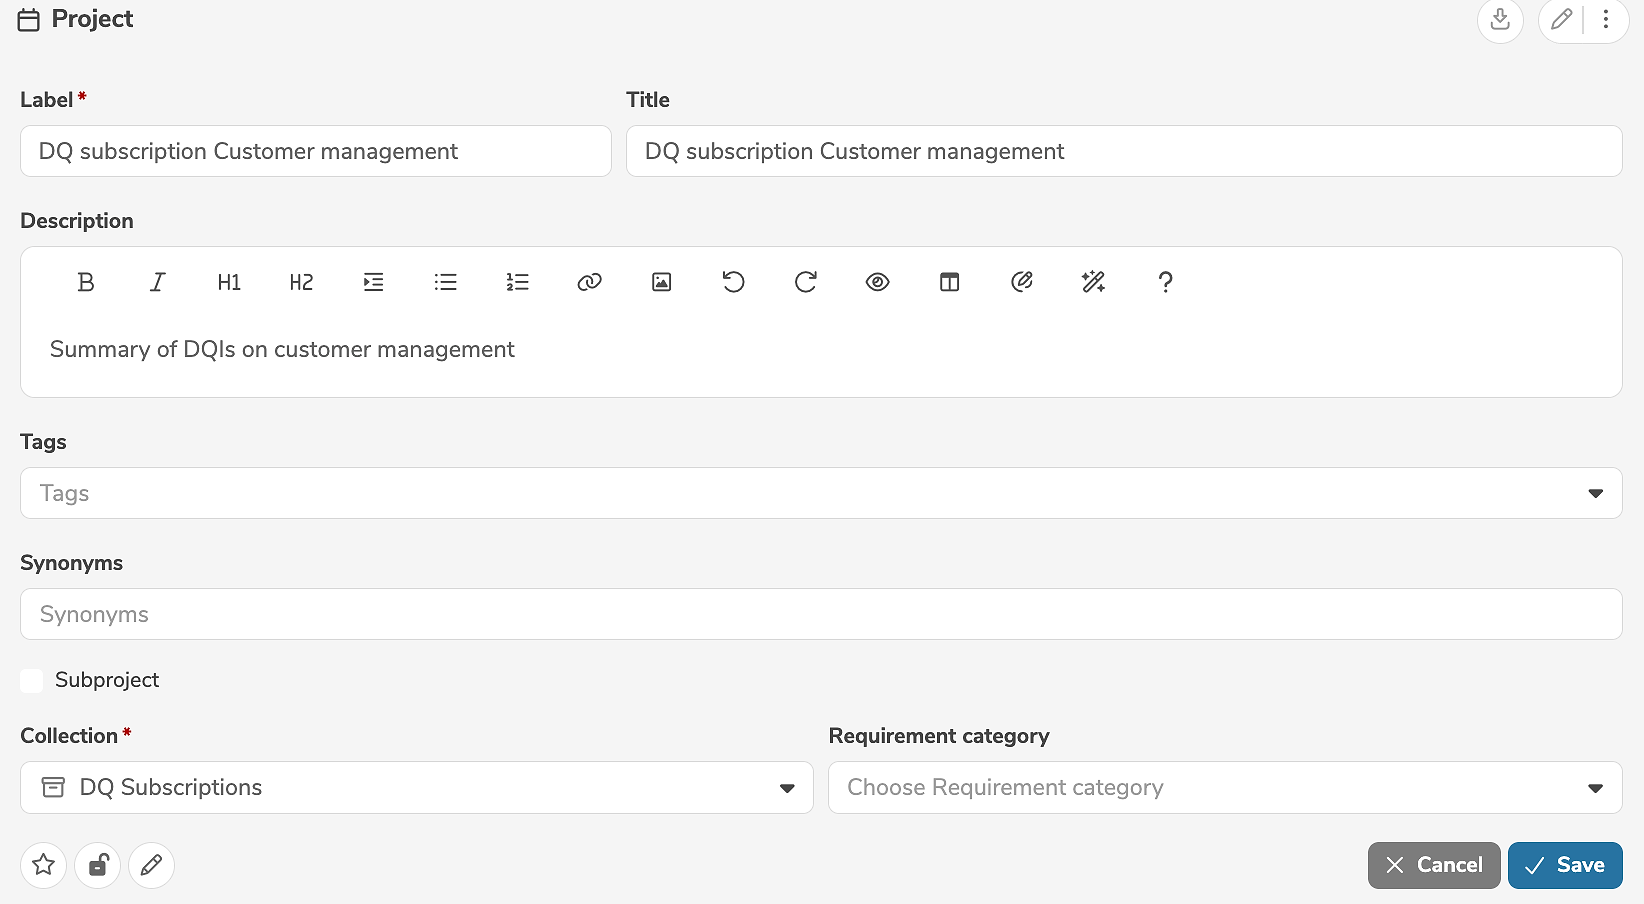
A project is edited in the main panel of the project, by clicking the edit icon (or by selecting "Edit Project" in the menu).

The edit mode allows the modification of all standard input fields. Additional, customer-specific fields can be added using annotations and will then also appear in the edit mode.
The icons in the lower left corner of the edit view allow further settings to be made:
- Clicking
 marks the element as favorite.
 - Clicking
 marks the element as locked.
 - Clicking
 marks the element as read-only.
Clicking "Save" applies the changes.
A project can be deleted in the main panel of the project, by selecting "Delete Project" in the menu.
Add subprojects
Subprojects are specified in the subpanel of a project.

A new subproject is added by clicking the tab "Subprojects" and the icon "+" (or by selecting "Add Subproject..." in the menu).
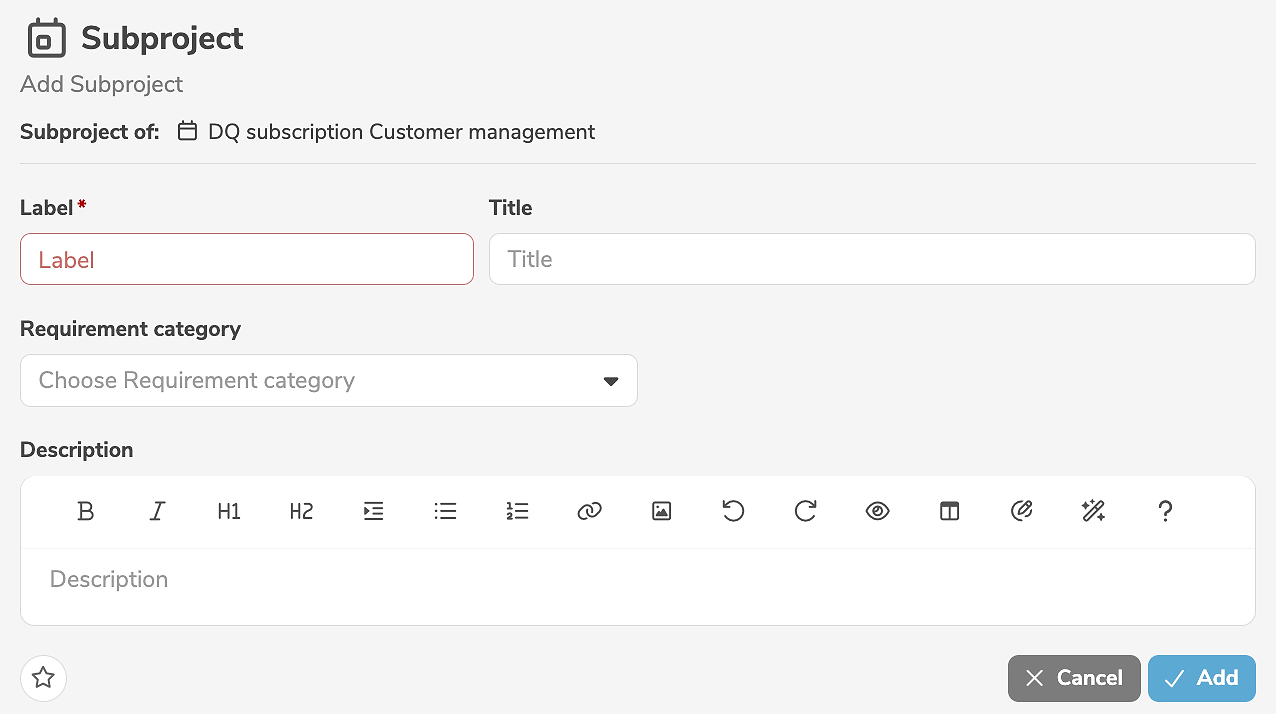
It is mandatory to assign a label to the subproject. In addition, a title and a description can be specified.
Clicking "Add" creates the subproject.
Subprojects can also be created by duplicating other subprojects.
Edit subprojects
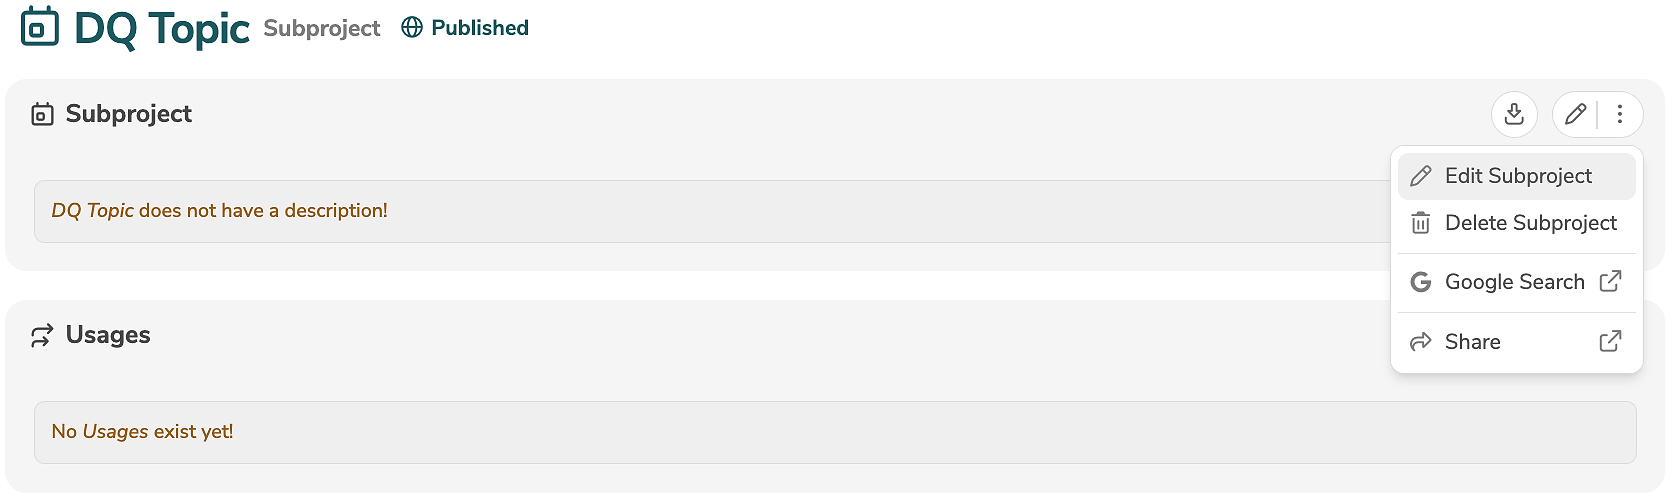
A subproject is edited in the main panel of the subproject, by clicking the edit icon (or by selecting "Edit Subproject" in the menu).
The edit mode allows the modification of all standard input fields. Additional, customer-specific fields can be added using annotations and will then also appear in the edit mode.
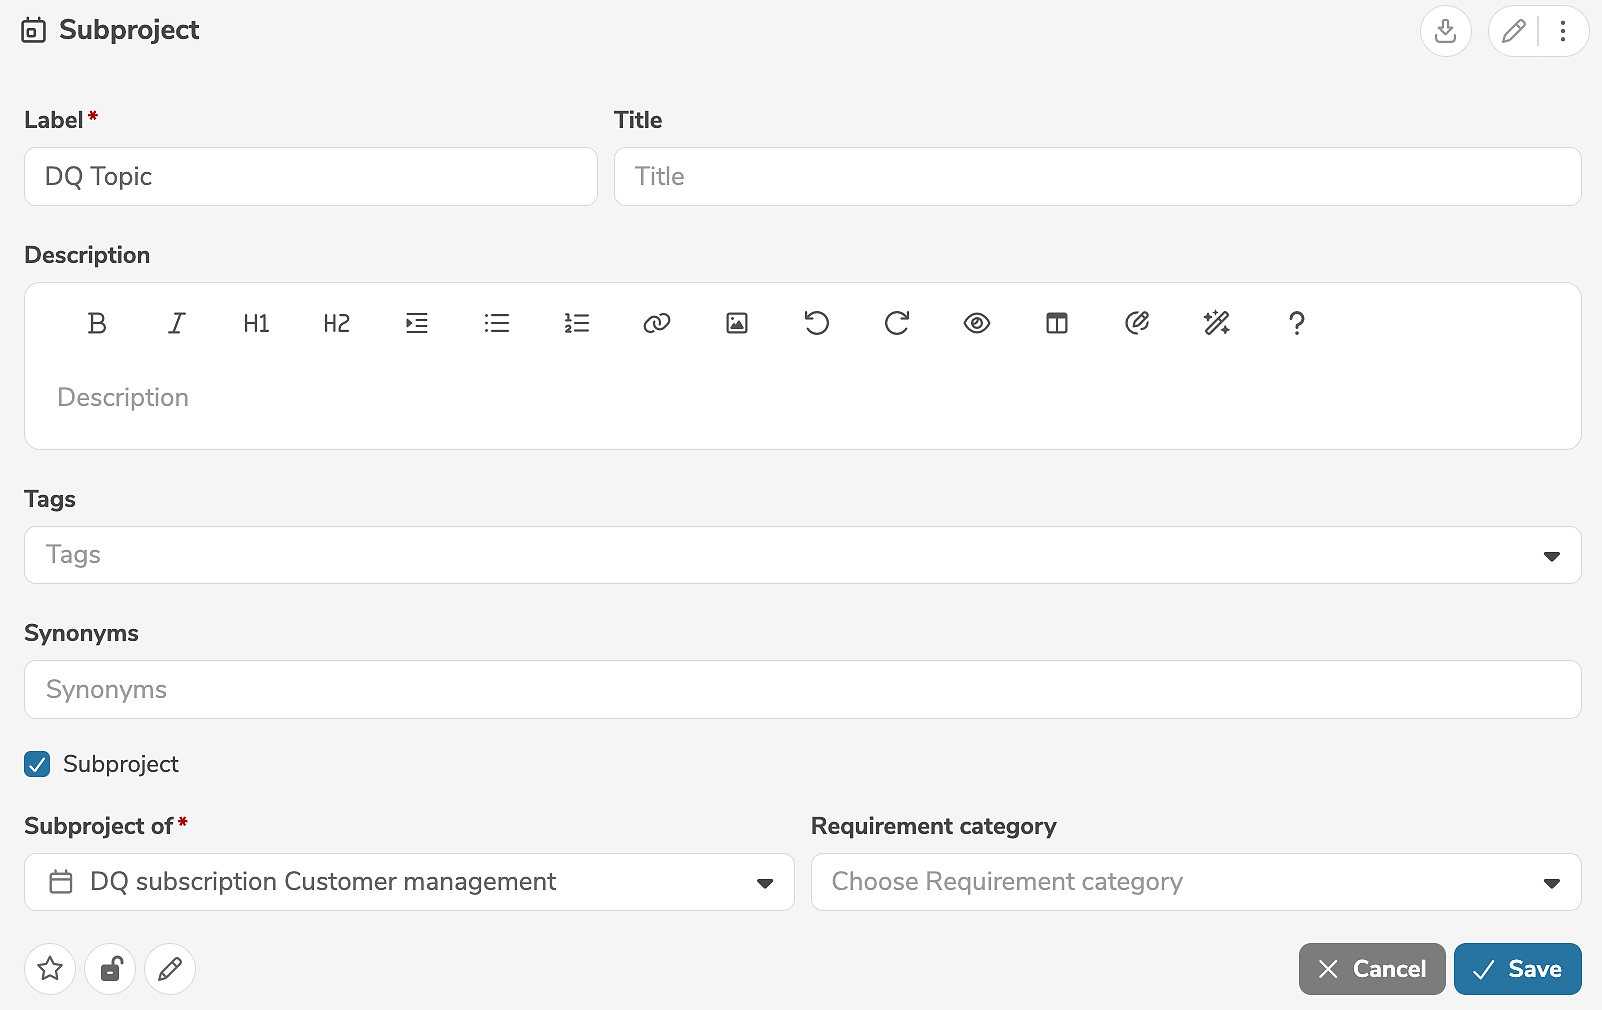
A subproject can be subsequently edited and converted to a project. Likewise, a project can be subsequently edited and converted to a subproject.
The icons in the lower left corner of the edit view allow further settings to be made:
- Clicking marks the element as favorite.
- Clicking marks the element as locked.
- Clicking marks the element as read-only.
Clicking "Save" applies the changes.
A subproject can be deleted in the main panel of the subproject, by selecting "Delete Subproject" in the menu.
The usages of other elements can be defined in the subproject analogous to the project.
Add usages
Usages of other elements are specified in the subpanel of a project or subproject.
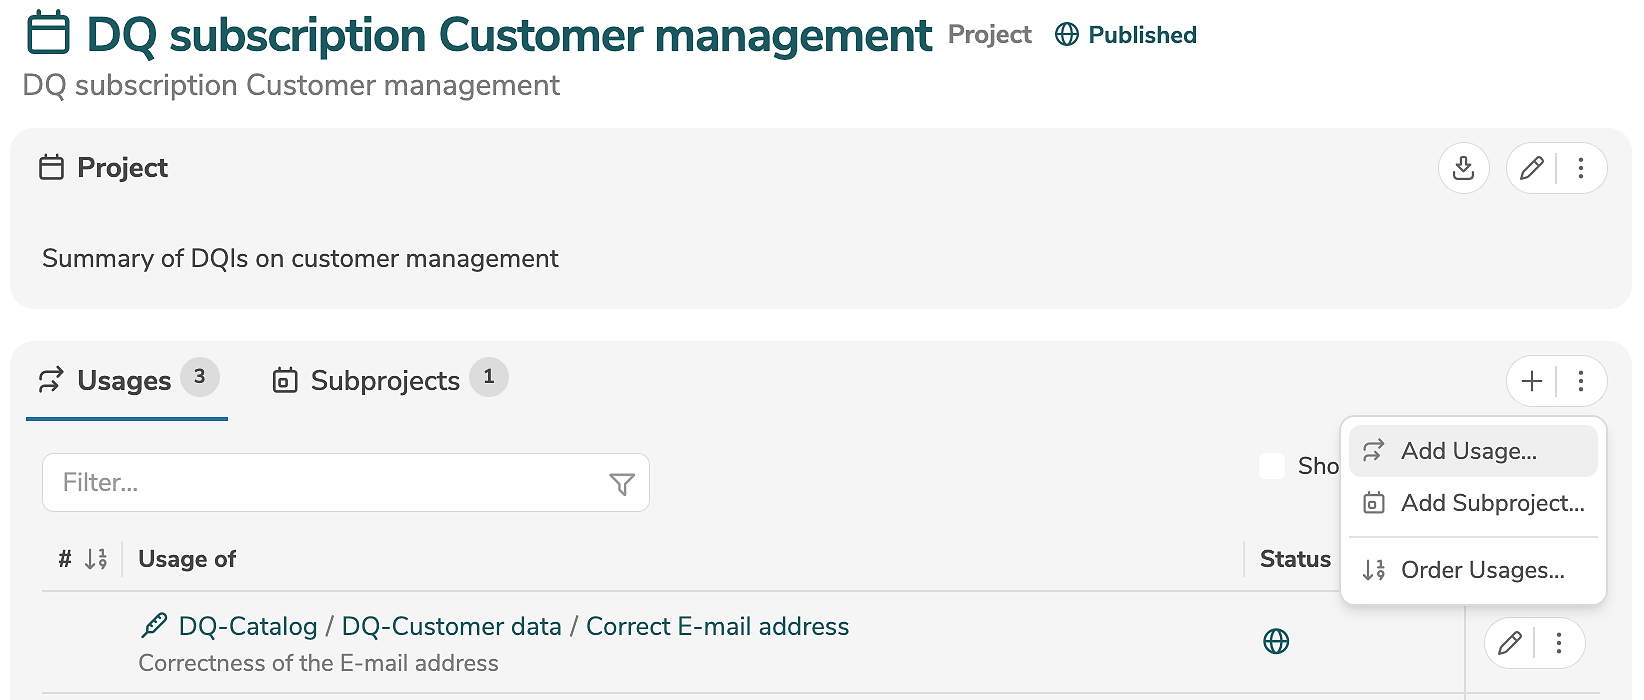
A new usage is added by clicking the tab "Usages" and the icon "+" (or by selecting "Add Usage..." in the menu).
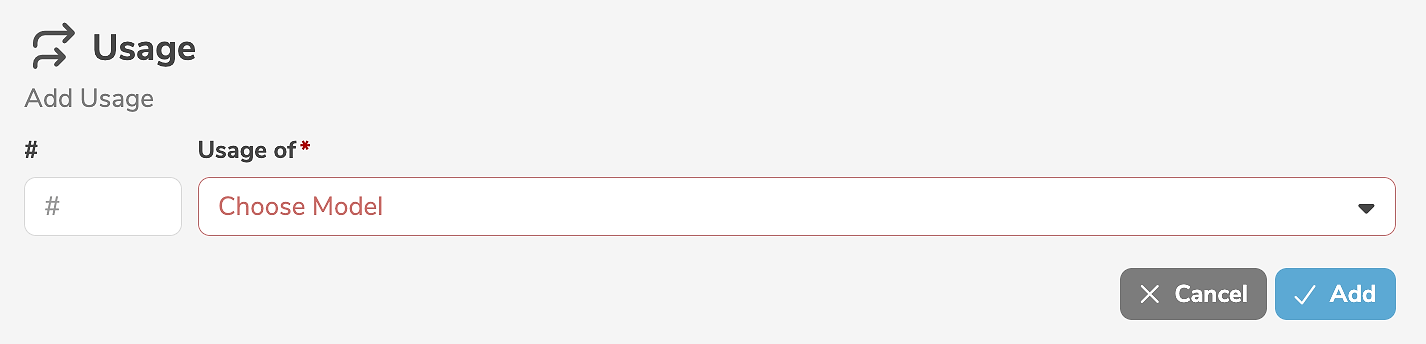
It is mandatory to select an element from a model.
Clicking "Add" creates the usage.
Usages can also be created by duplicating other usages.
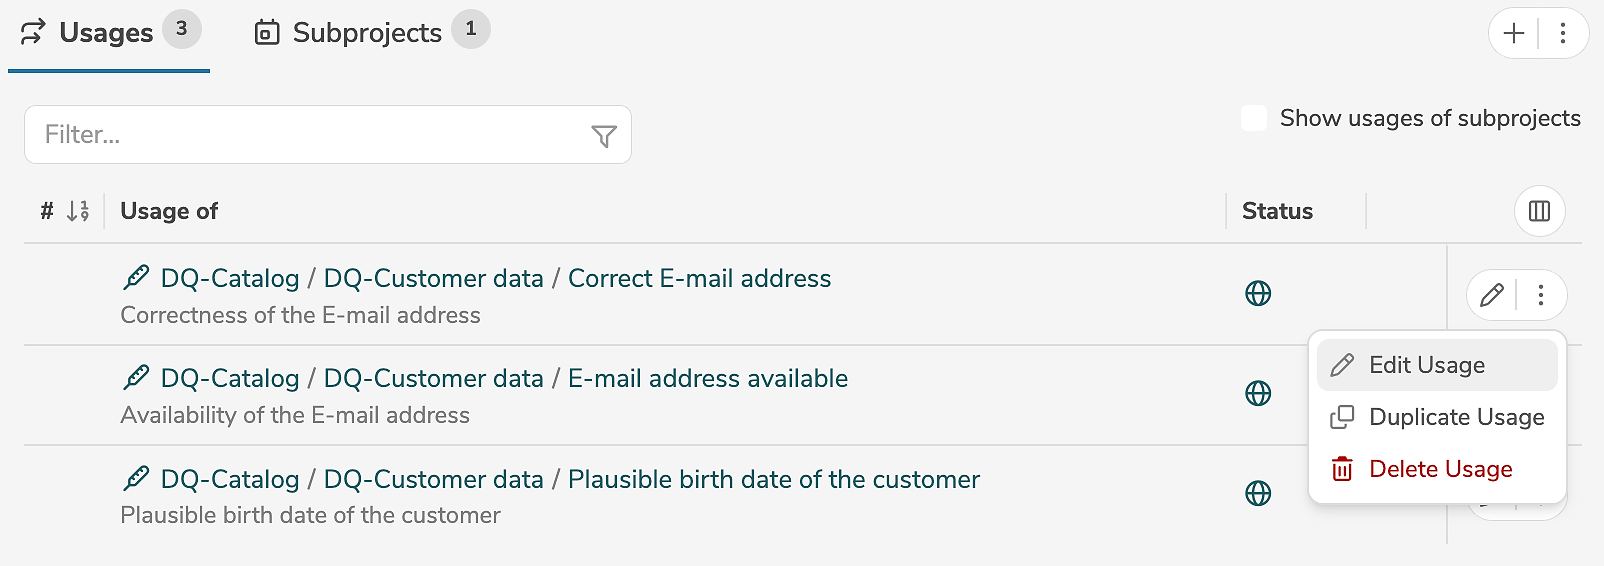
Edit usages
A usage is edited by clicking the edit icon (or by selecting "Edit Usage" in the menu) next to the usage.
The edit mode allows the modification of the input fields.
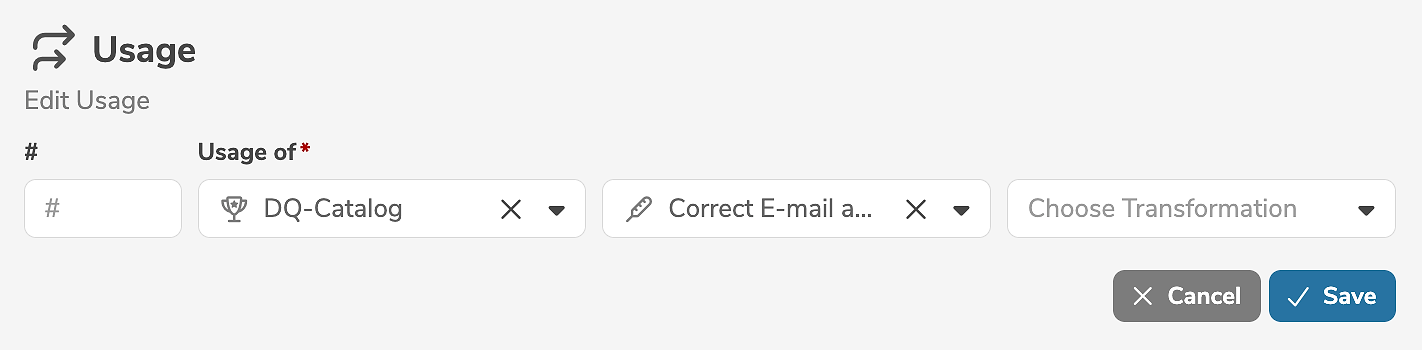
Clicking "Save" applies the changes.
A usage can be deleted by selecting "Delete Usage" in the menu next to the usage.
Order usages
The sorting of the usages is determined by their order (if present). This order can be assigned manually during editing. Alternatively, in the subpanel of the project or subproject, it is possible to arrange the usages and assign their order automatically.
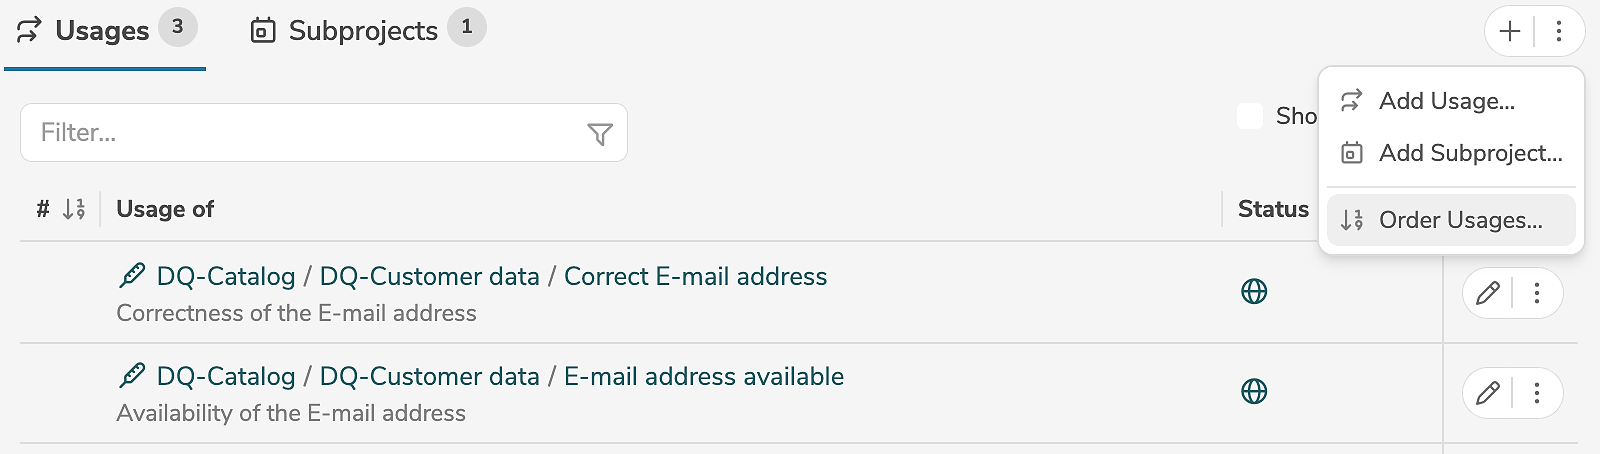
Selecting "Order Usages..." in the menu opens a dialog, where the usages can be rearranged with the mouse using "drag and drop".
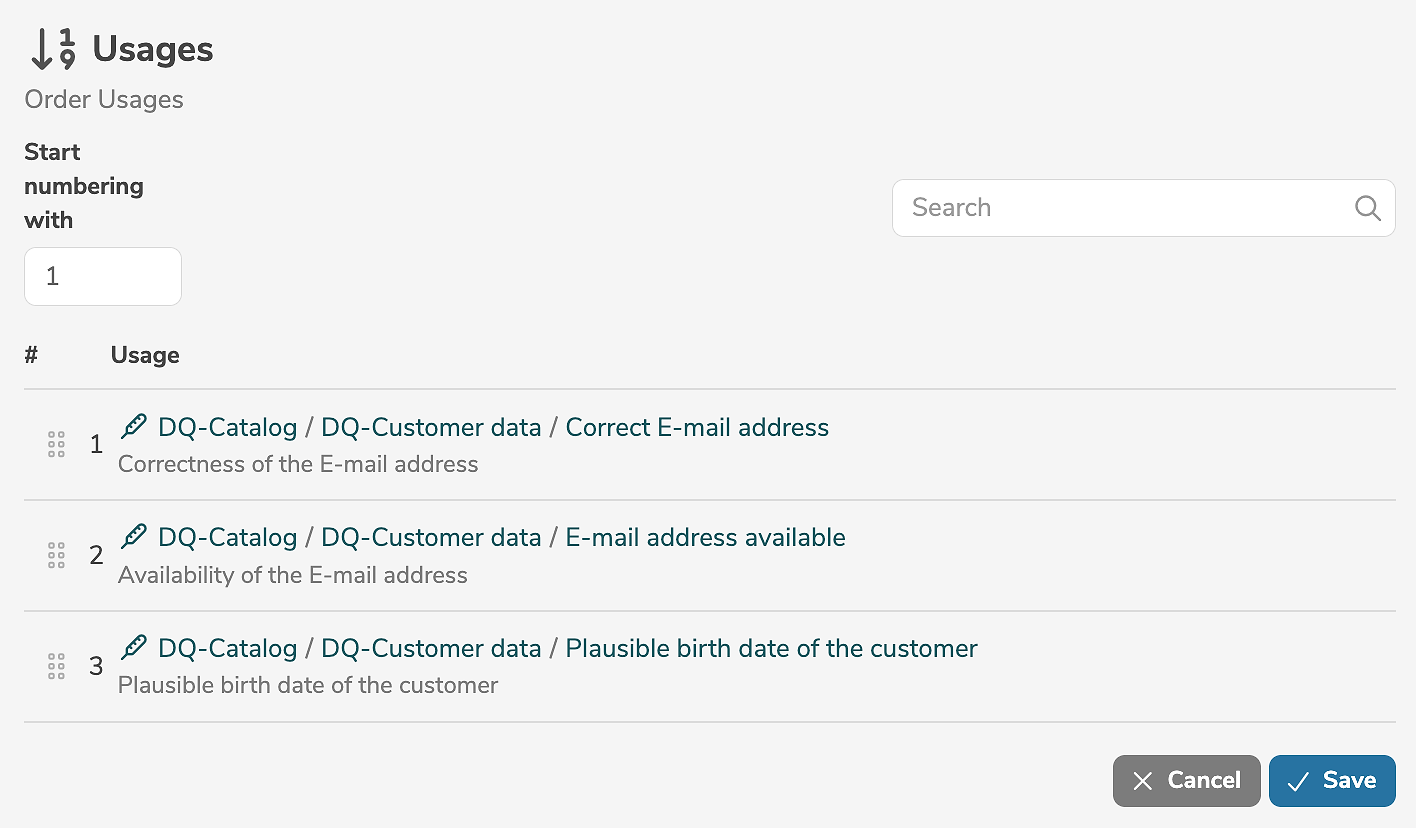
Clicking "Save" applies the changes and reassigns the order automatically.
If required, it is possible to specify that automatic ordering should start at a certain number.